
Hello, World!
The best way to get your feet wet with NExS is the classic “Hello, World!” app. This tutorial will build a “Hello, World!” app that demonstrates some of the most basic features of NExS.
To get started, download our initial “Hello, World!” spreadsheet and open it with your spreadsheet editor (e.g., Excel) to follow along.

Figure 1. “Hello World” spreadsheet (hello3.xlsx)
This is a very simple spreadsheet that we’ll use to build our very useless (but informative!) Hello, World app. Our objective is to create an app that allows the user to type in a personal PIN number, 4 digits in the case but we could use values we wish for the PIN. If a valid PIN number is entered, the app says “Hello!” to the name associated with the PIN. Assuming you’ve downloaded and opened the spreadsheet, take a look at the following:
Cells B2 and B3 are merged and given a yellow background as you can see in the figure above. If you click on the merged cells, you’ll see this formula:
="Hello, "&VLOOKUP(C4,E3:F9,2,FALSE)&"!"This is a standard Excel formula to create a text string starting with “Hello, “ and ending with “!” with a value in the middle returned from the VLOOKUP function. (If you’re not familiar with VLOOKUP, check out the documentation here.)
Cells E3 through F9 contain the lookup table that allows you to look up a name based on its associated PIN number. For example, the PIN number for Tom is 7734, for Sally is 5759, etc.
Cell C4 is the cell where we’ll enter a PIN number to make our app say “Hello!” to the right person. Note that C4 is the first parameter for our VLOOKUP function above.
This is all the spreadsheet functionality we need to make our app work as envisioned. Test it by typing a PIN number into cell C4. You’ll see that the “Hello, Name!” message changes to display the name associated with the PIN number entered. It works!
The only thing remaining is to provide a bit of information to tell the NExS platform how to configure our app. That is accomplished by adding a second worksheet named “NExS.app” to our spreadsheet as shown in the figure below.
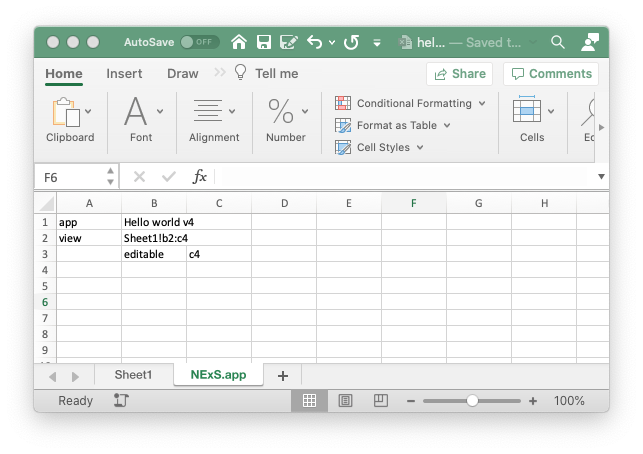
Figure 2. The NExS.app worksheet in hello4.xlsx
The NExS.app worksheet always starts with the keyword “app” in cell A1. The name of the app (in this case “Hello world v4”) is entered into cell B1.
The second row contains our “view” definition. A NExS view is the block of cells that our users can see and interact with. In this case, we’ve specified the view to be Sheet1!b2:c4. This block of cells contains the yellow-highlighted “Hello, Name!” and the cells below where the PIN number is entered. It’s important to note that by excluding the block of cells containing the PIN number lookup table from the view, we’ve made the app secure. How? Since only cells within the view can be seen by the user there is no way to know the values of the access codes. Further, the formula in cells B2:B3 is not visible to the user, either. Because of these security features, proprietary data and formulas in the spreadsheet driving the app are safely protected.
The third row is a continuation of our view definition. The keyword “editable” in cell B3 followed by “c4” in cell C3 specifies that the user is allowed to enter a value into cell C4. This is where the PIN number will be entered. Only cells within the view that have been designated as editable (or synonymously, “inputs”) are available for user input.
With the three rows we’ve entered on NExS.app, we’ve specified all the information needed to create our app. Save the spreadsheet and login to the NExS platform. (You can click the link below to download an updated version of the spreadsheet with NExS.app pre-configured if you wish.)
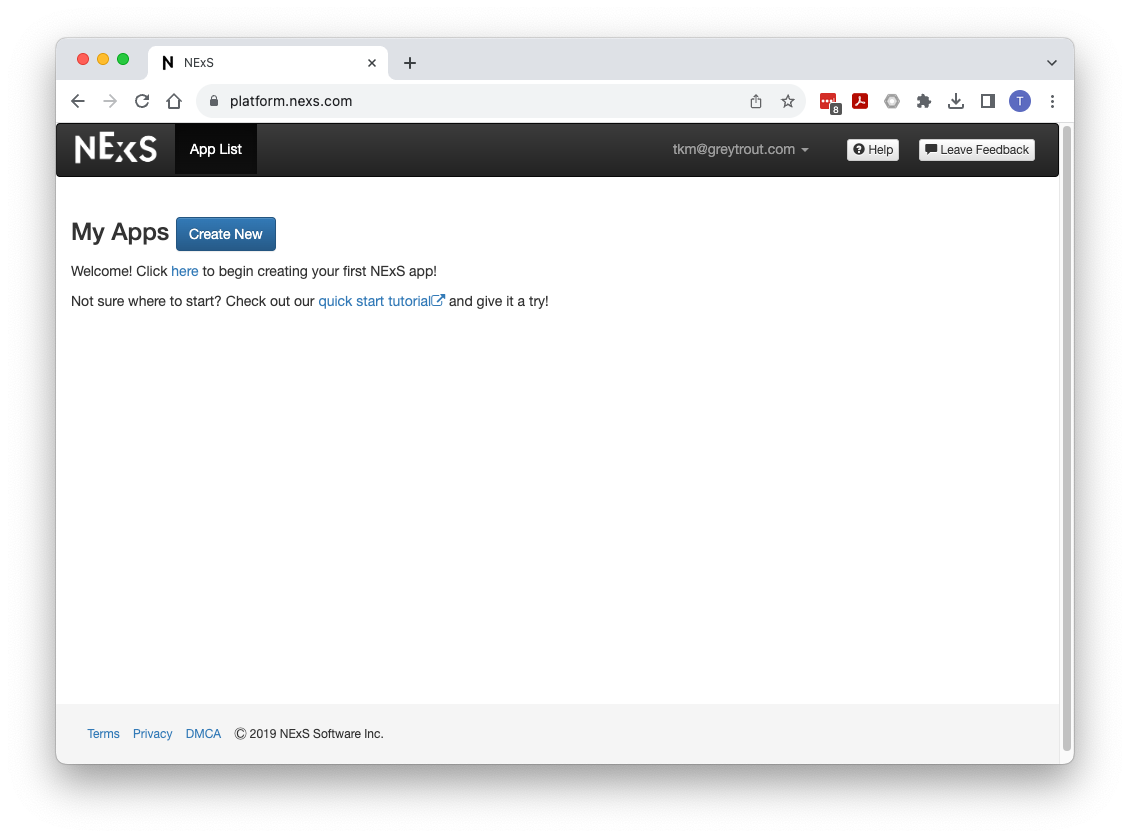
Figure 3. NExS app console
To create your “Hello, World!” app, click on the Create New button on the app console. That will take you to the file upload screen as shown in Figure 4. Using “choose file” select the .xlsx file that we’ve built for our app.

Figure 4. NExS file upload
Now, click “Next: Upload and Configure”. You should then see a page resembling Figure 5 below. Success!

Figure 5. Successful upload and configuration
The upload and configuration was successful, and your app is ready to deploy. However, it’s always a good idea to preview your app first and make sure that it works as intended. Click the “Preview your App” button to see a fully functioning preview.
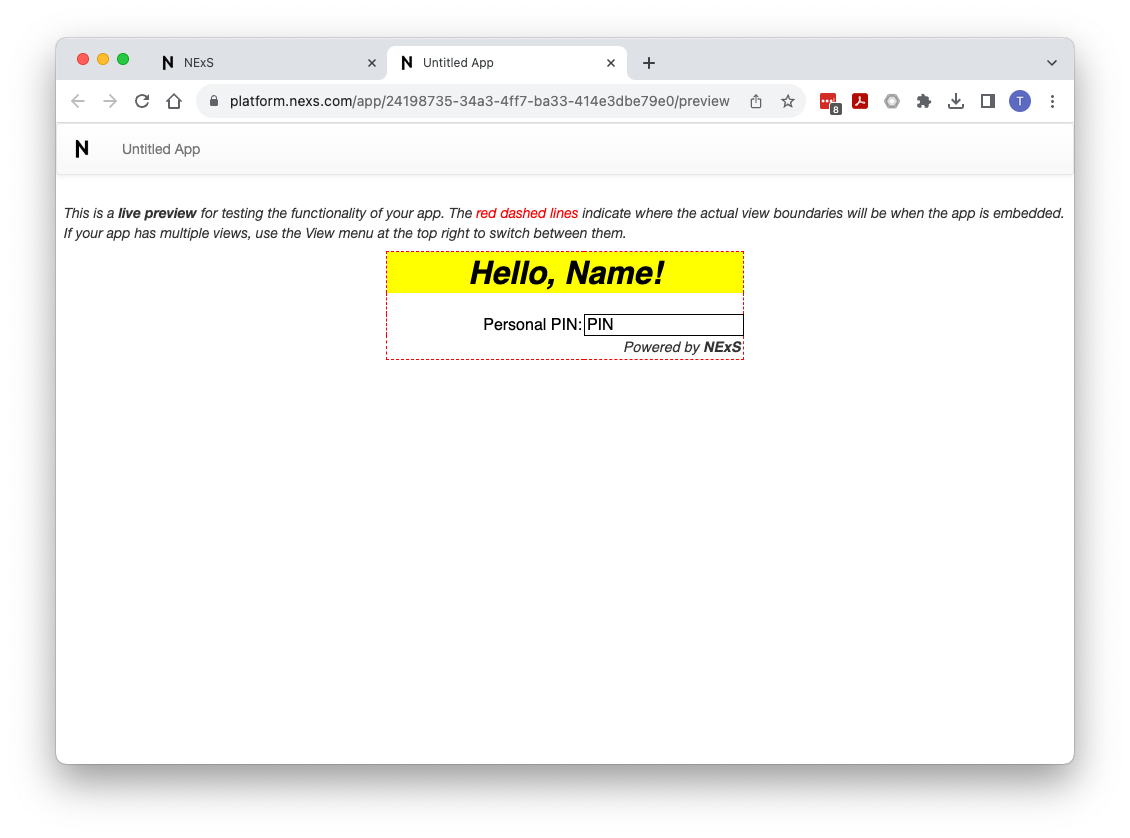
Figure 6. “Hello, world!” app preview
Try clicking on the PIN input and entering a PIN number. Hopefully, you’ll see the associated name appear in place of “Name” in the yellow box.
Now we’re ready to deploy our app and make it available to the world. Close the preview tab on your browser and click the “Continue” button to go to the app management screen, as shown in Figure 7.
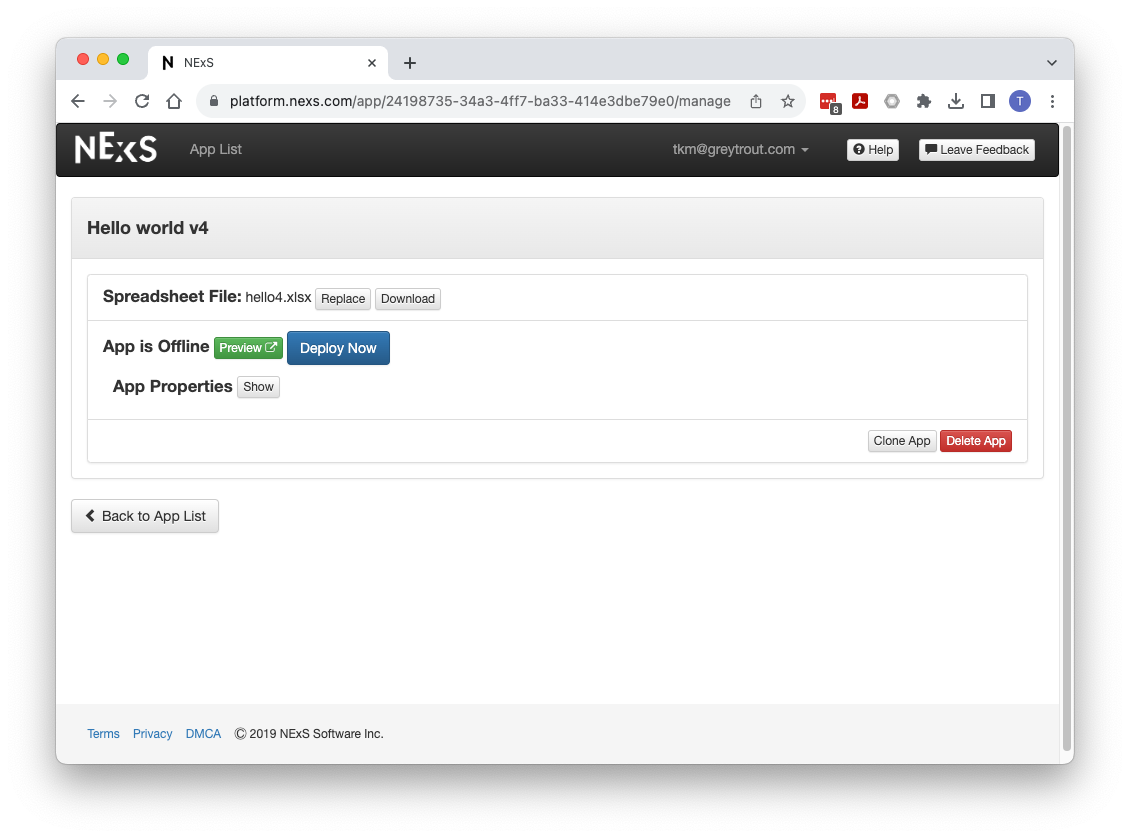
All that remains is to click “Deploy Now” to make your app live on the Internet. Once that’s done, you’ll see the following:

Figure 8. App management screen after deployment
To access the app, click on the green button containing the app’s URL. This opens a browser tab to the app, which is now available to anyone with the URL.
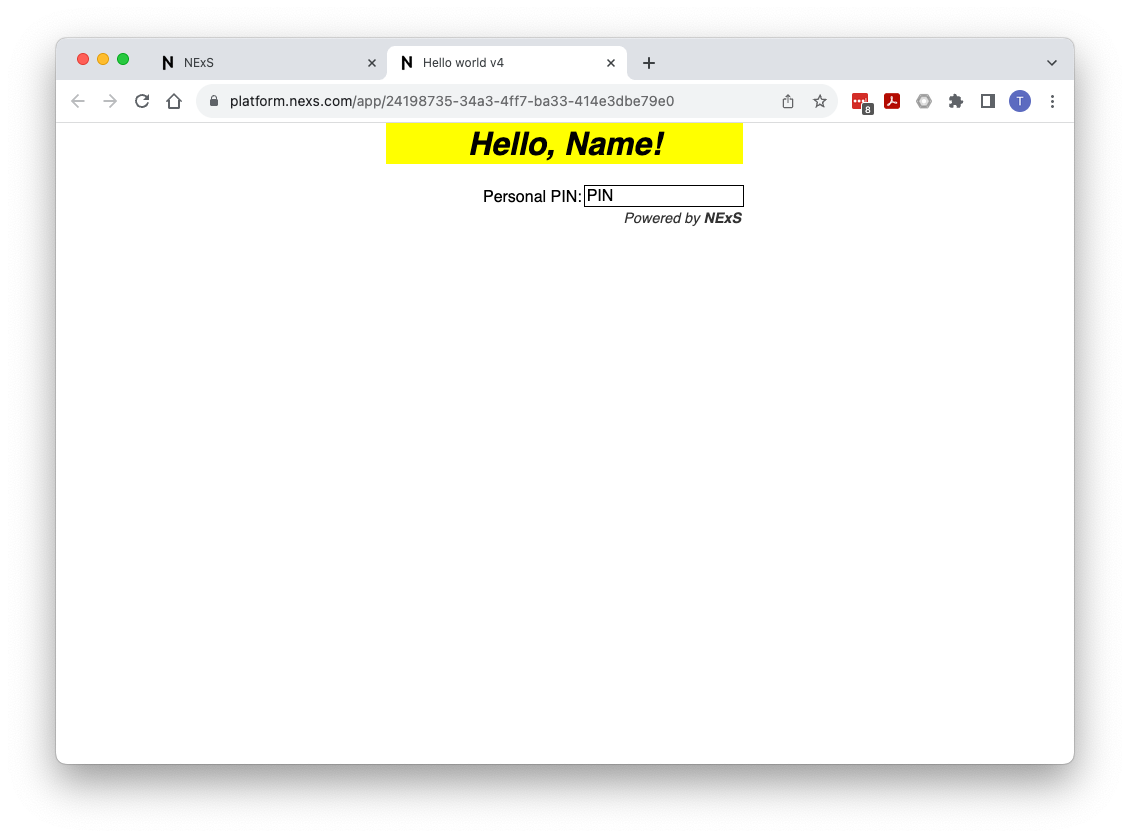
Figure 9. Live “Hello, World!” app
This is great! But in real life we would like to have our app embedded in a web page. NExS provides number of app sharing options to do just that. Click on the “Show” button next to “App Sharing Options” on the app management screen. You’ll see a list of embed codes that can be copied and pasted into web pages. We’ve used the “Script Embed Code” to add the “Hello, World!” app to this tutorial page just below. Try typing a PIN number into the app and you’ll see that it works.
This concludes our "Hello, World!” tutorial. Hopefully you now have an understanding of the basics of creating a NExS app and an appreciation for what is possible. We’ve only scratched the surface here. The complete details for app configuration using NExS.app are found in the documentation on nexs.com.
In the next tutorial, Creating your First App, you will go through the process of creating a simple, but more useful NExS app.